How to Preview Your Image on Wood // Tips
We’ve often been asked if there was a good way to preview what an image will look like when it is printed on wood. What a great question! And the answer is yes. Sort of.
Because wood is such a unique substrate & each piece of wood will have distinct grains, there is no completely accurate way to know exactly how it will look. However, we use the highest quality of wood available on the market which results in consistent tones & textures. And, we’re continually researching different types of wood & love seeing how they respond when printed on.
But, never fear. We do have two great ways for you to get a preview of what your image will look like printed on wood.
#1 Design Center // The first solution is found in our Design Center which is intuitively built within the PhotoBarn Pro & PhotoBarn website. I’ll be using the PhotoBarn website as our preview since you do not need an account to see (click here). Once you have selected your wood product, click “Create.” That will bring you into our Design Center. Once you’ve selected the size product you’d like, you should see a screen like this: 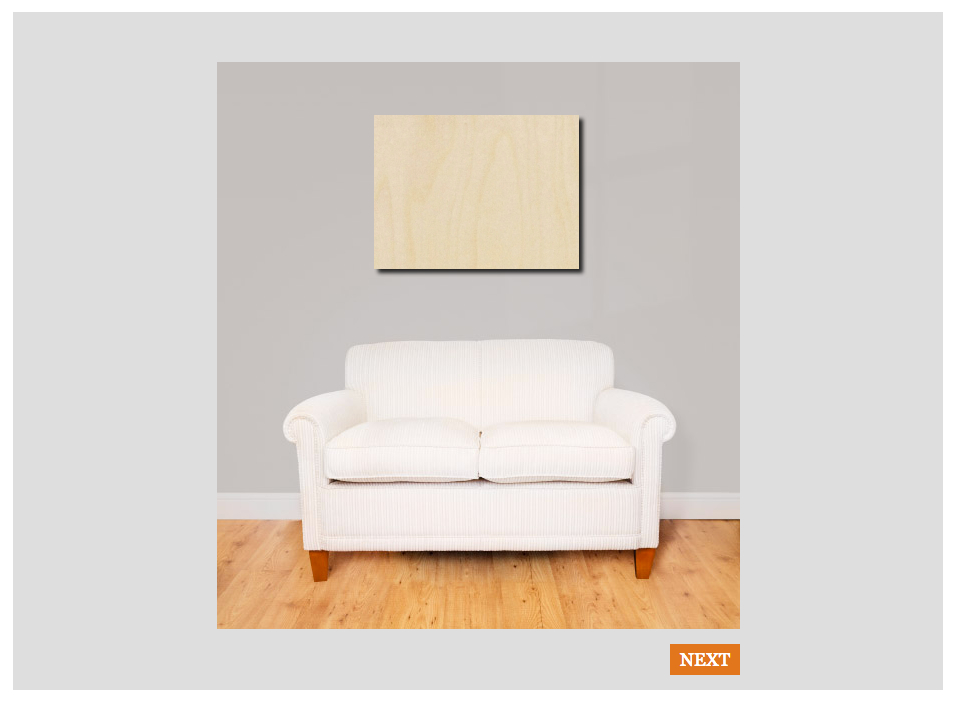 From here you simple click next which will bring you to this screen:
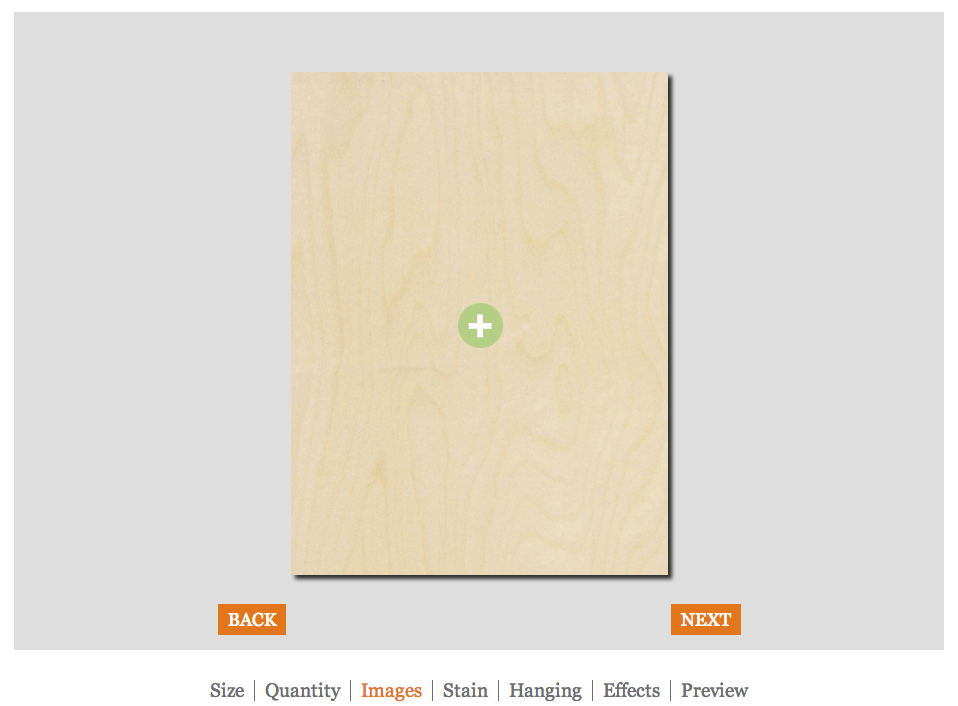 Click on the + symbol to upload your image. We’re using a beautiful newborn image from our friends, Brian + Amanda Photographers, Once the image is uploaded, you should see this:
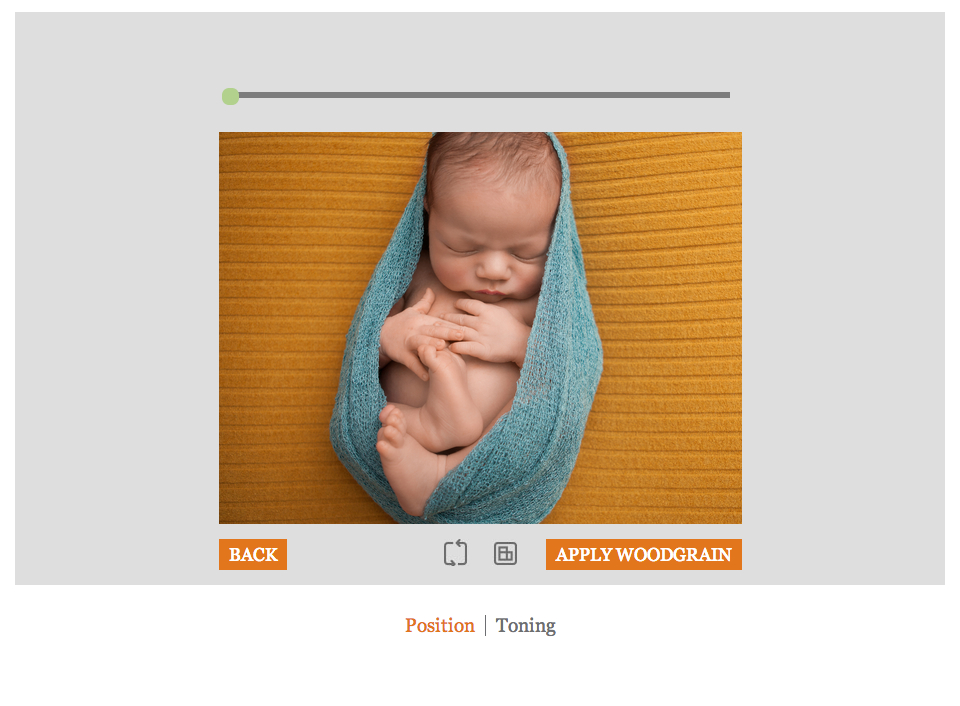 From this screen you can then click, “Apply Woodgrain.” The next screen will give you an idea of what your image will look like printed on wood.
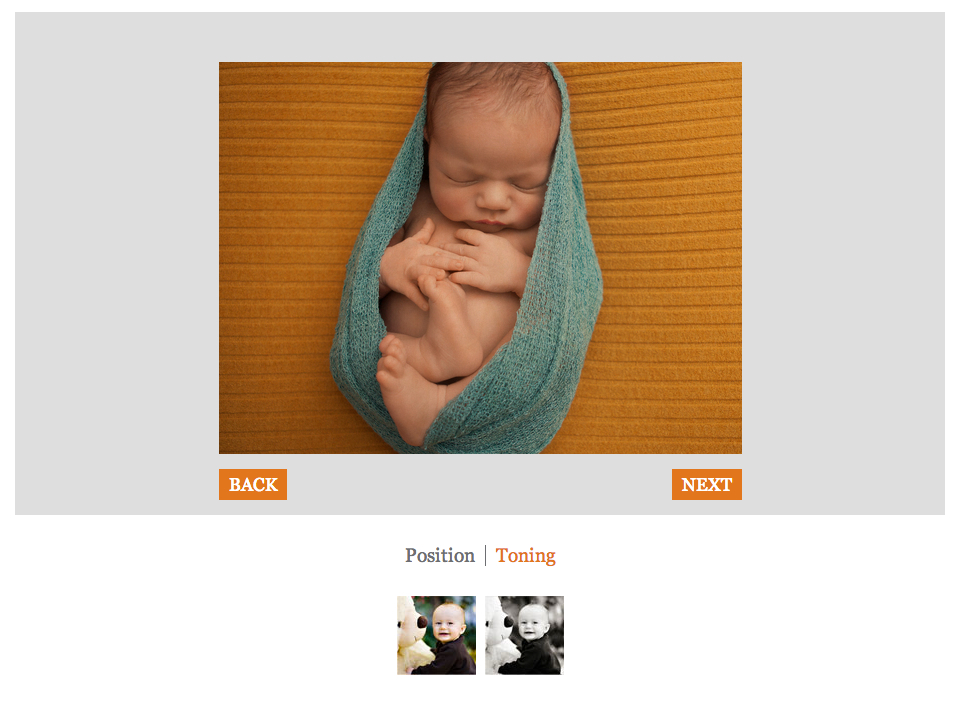 There you go! Also, as you’ll see in the image above, you can also preview what your image would look like in B&W. Sweet!!!
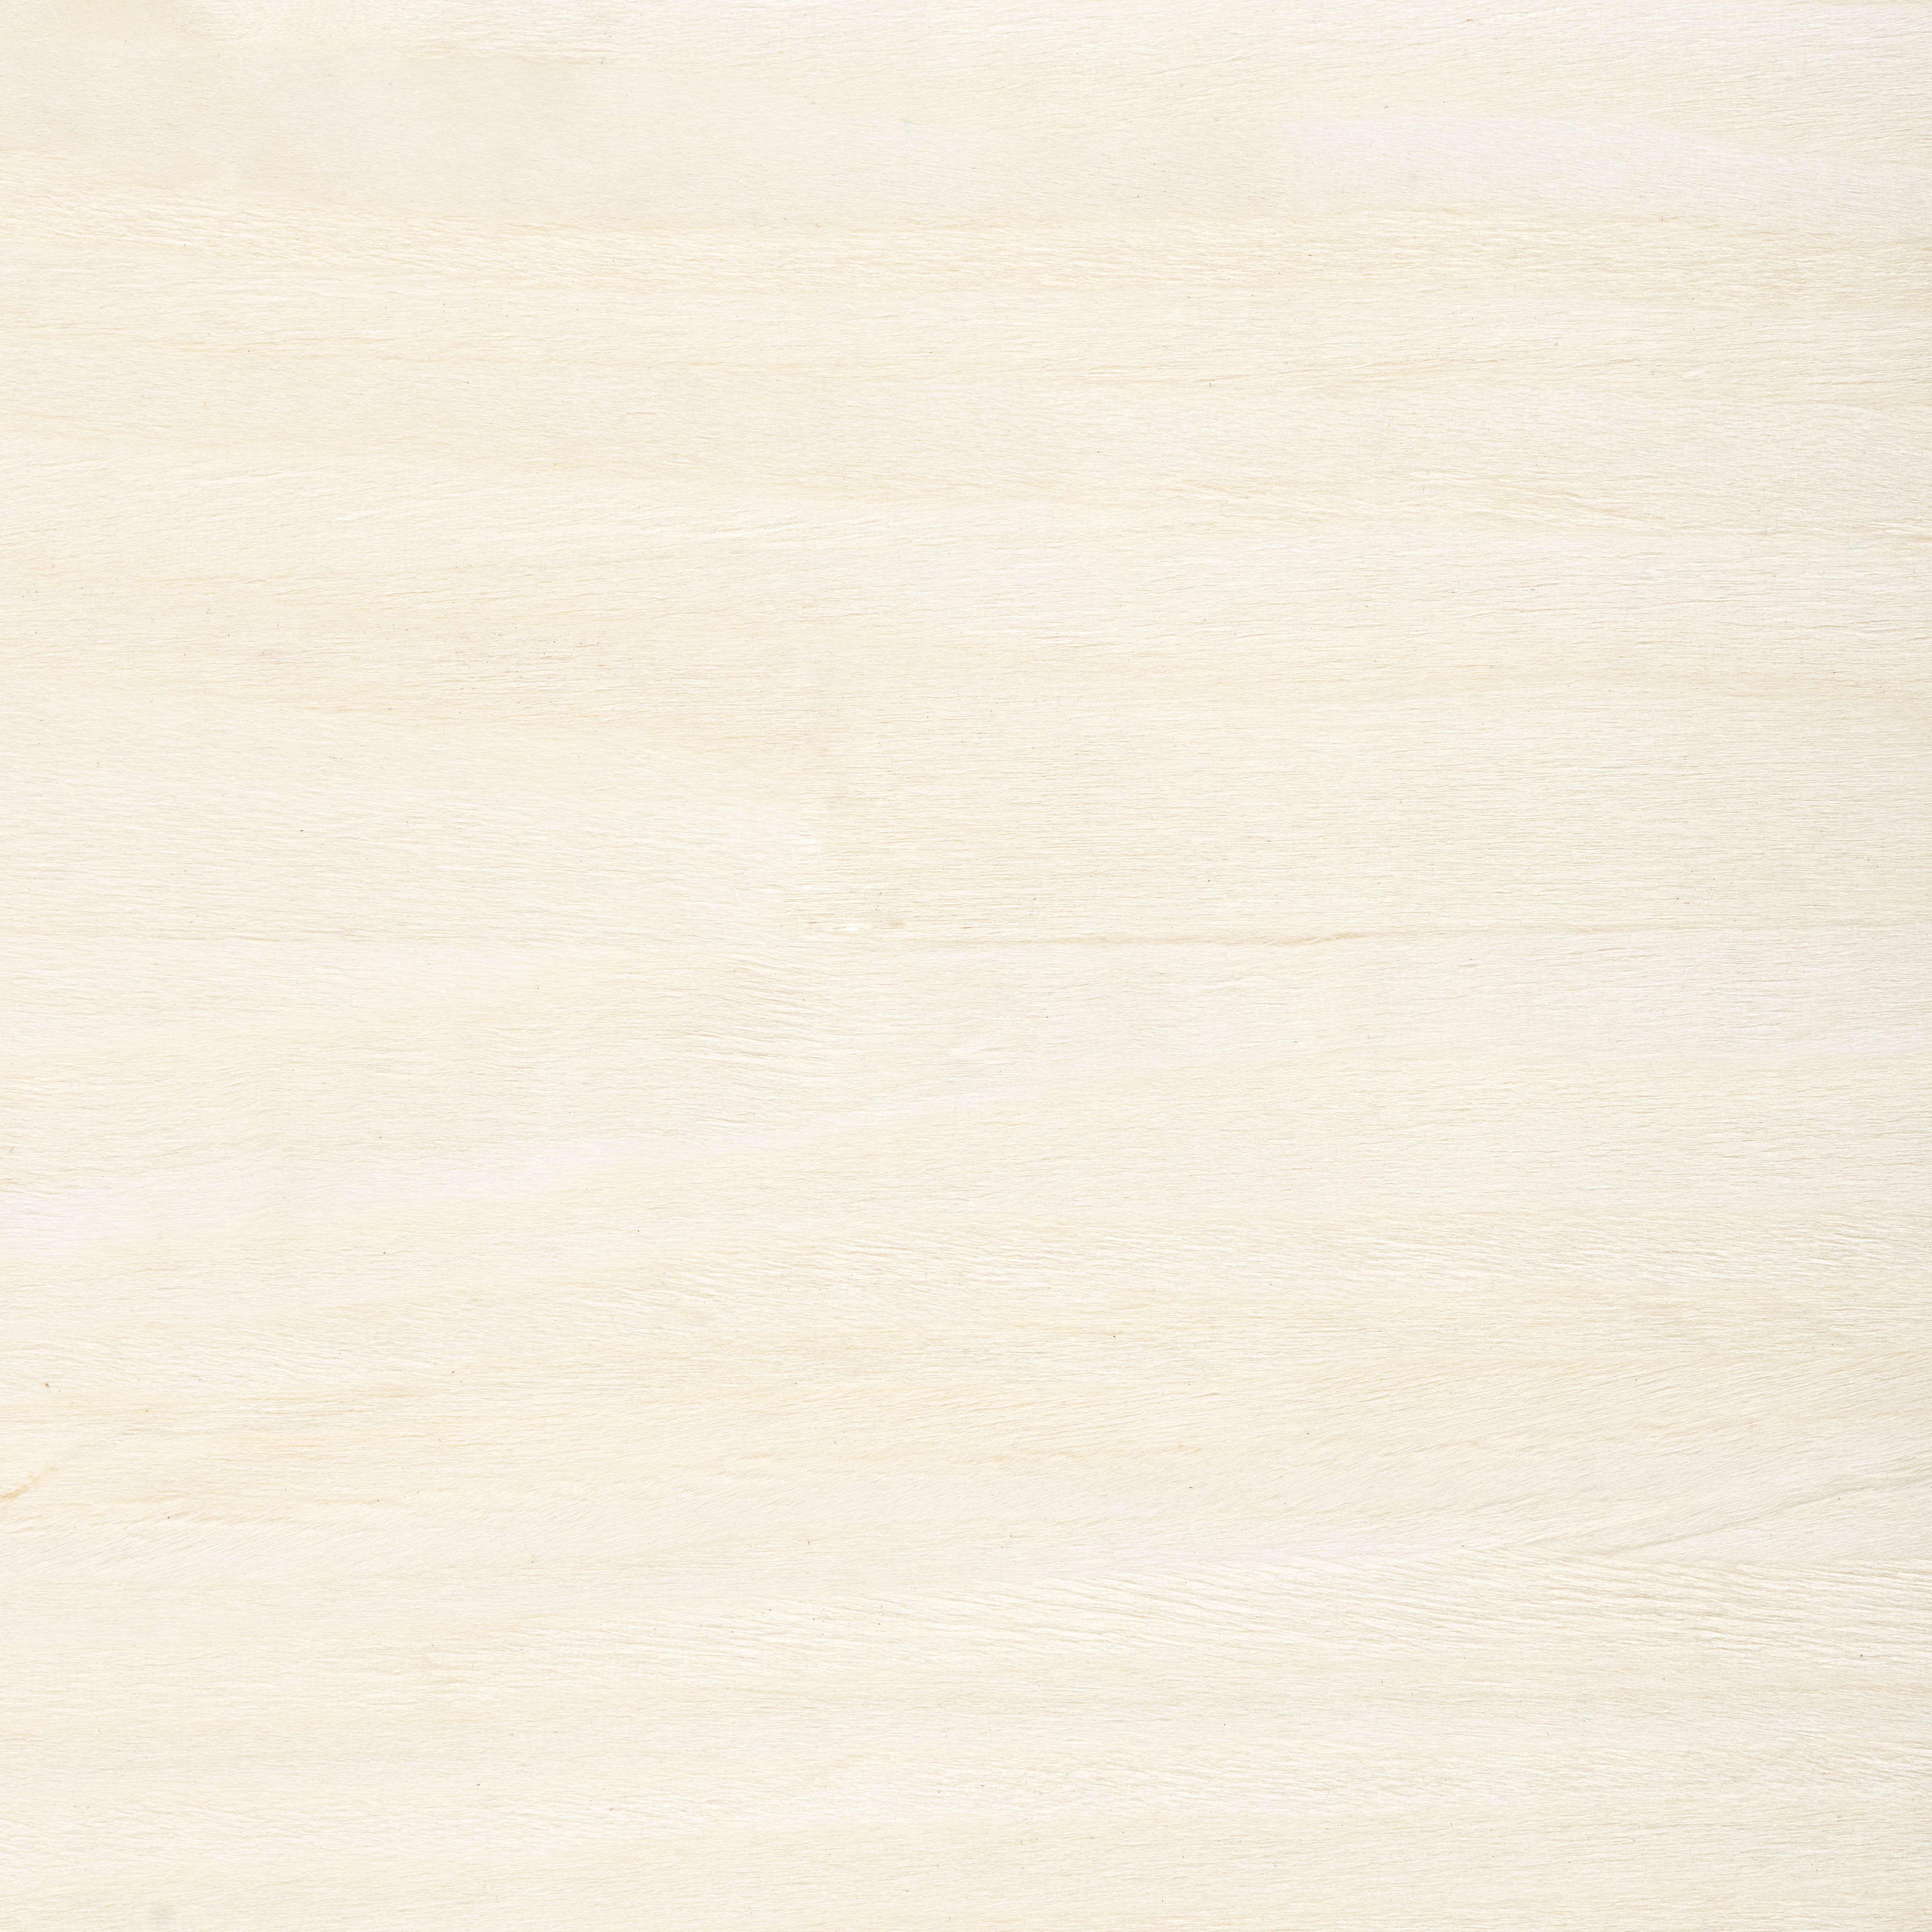
#2 Photoshop // The second solution which is really helpful is found in Adobe Photoshop. The first step is acquiring a wood texture image. Since we primarily print images on birch & maple, I visited Shutterstock & downloaded a birch wood texture image that I thought would work great. Download here if you’d like.
 Next, bring in your wood texture as well as your image into Photoshop. The images should be on two separate layers as pictured here:

The last step is quite simple. Located in the Layers palette as pictured above, simple change the blend mode from “Normal” to “Multiply” as pictured below: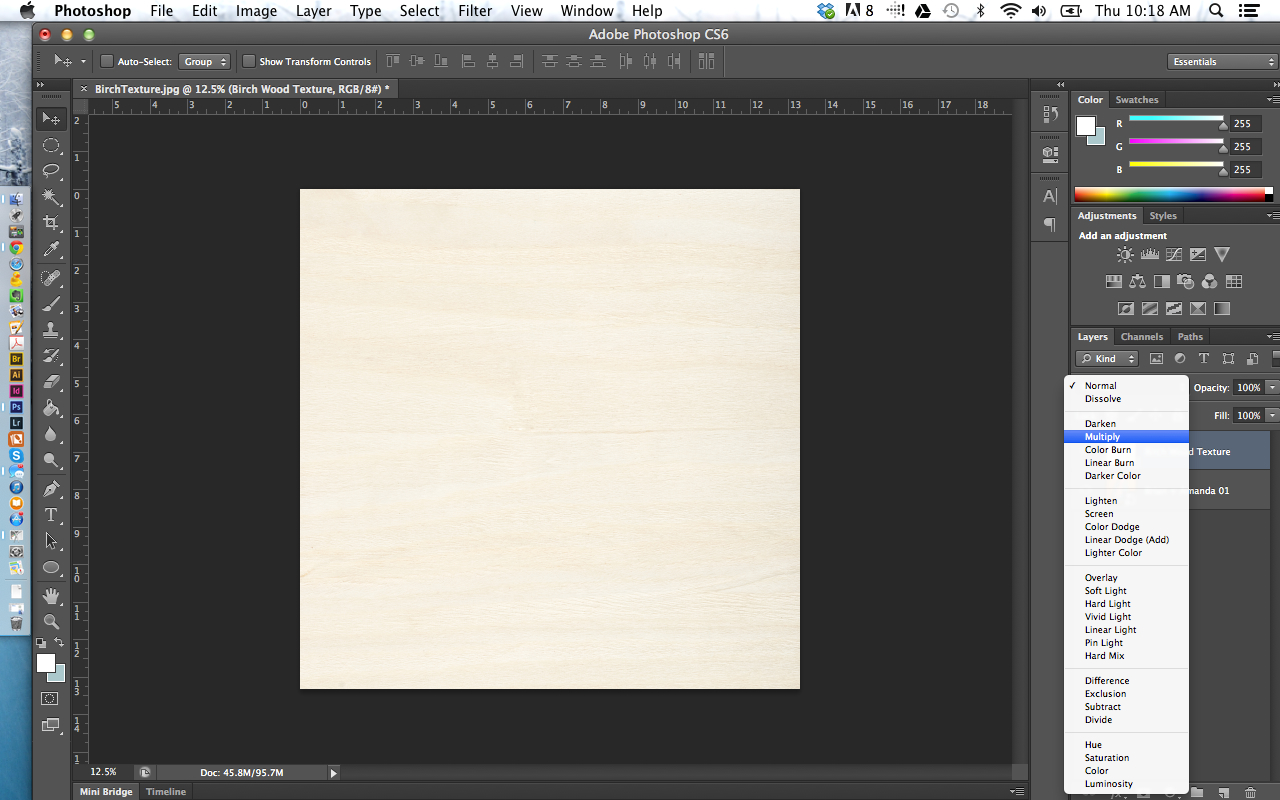 Thus, the result below:
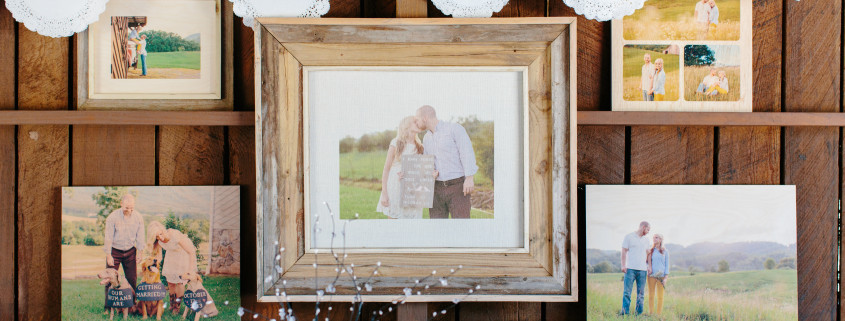
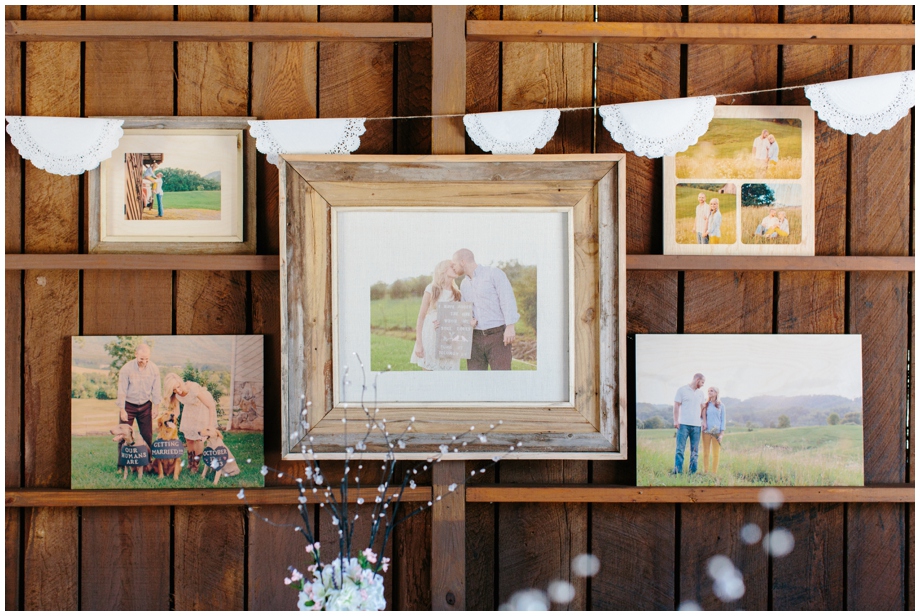
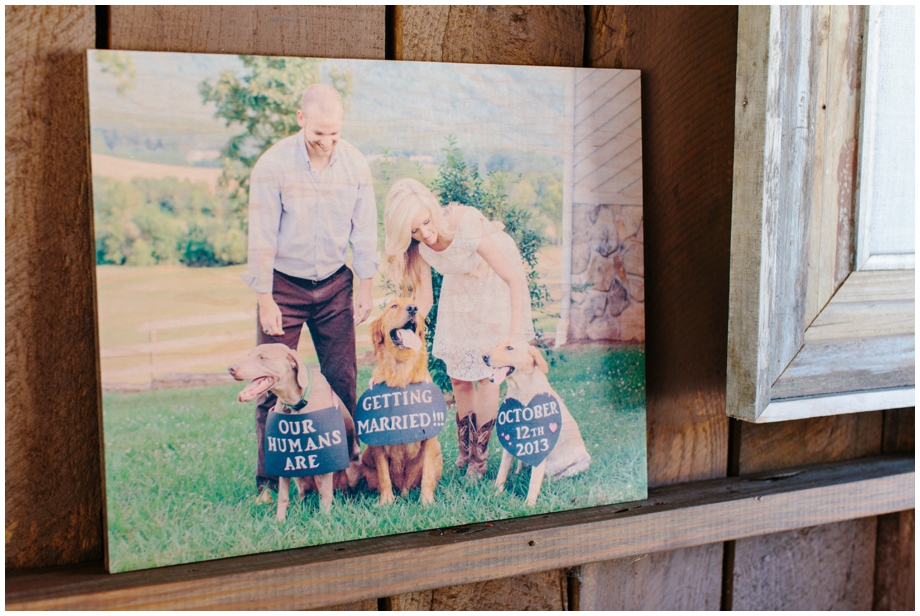
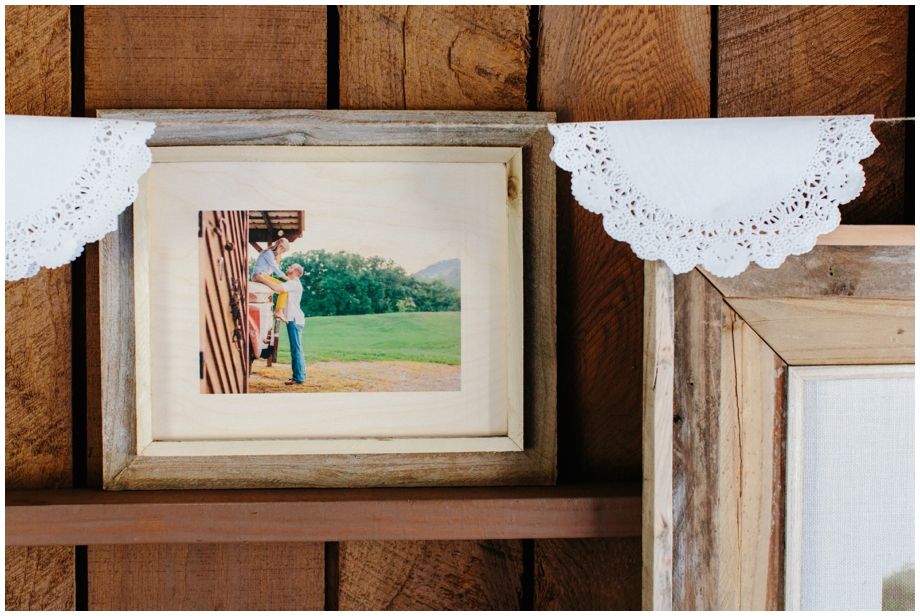
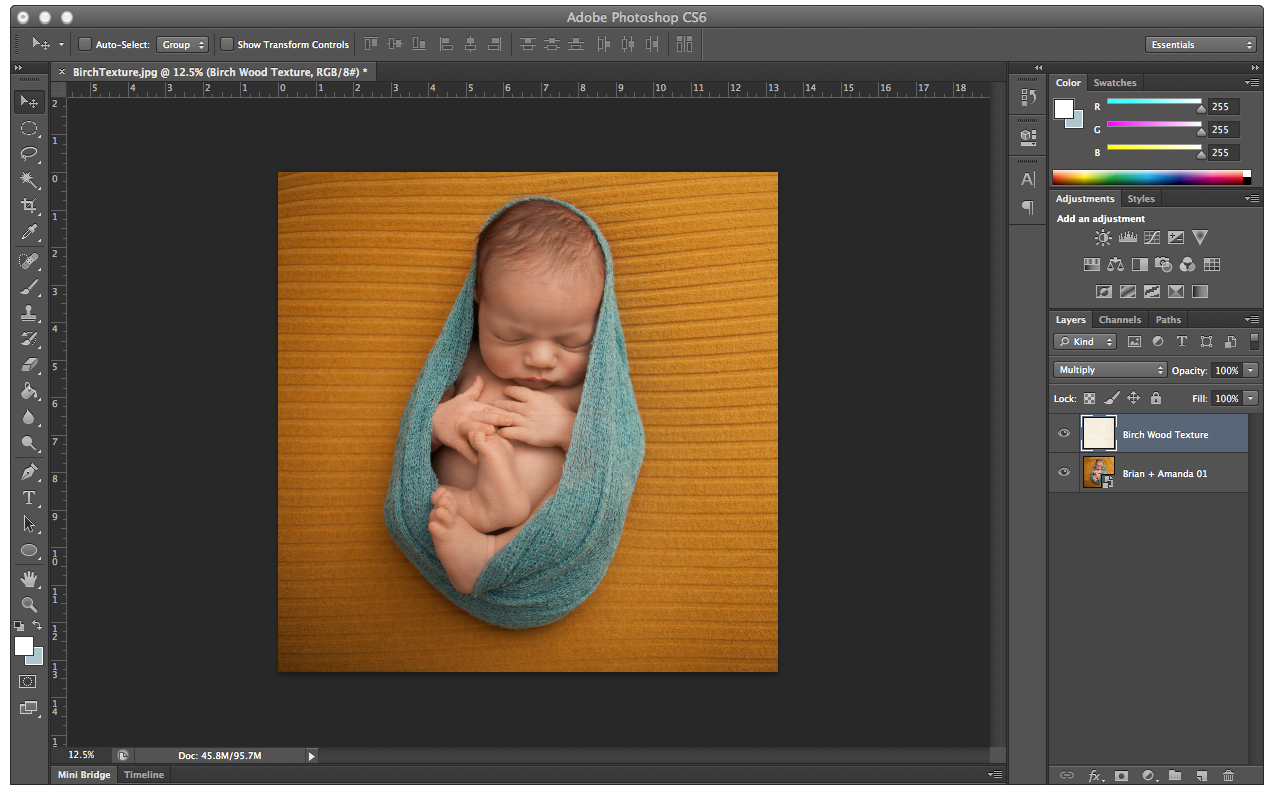 Tada!!! Really simple, right? Now you’ll have the tools necessary to have a really good idea of how your images are going to print on wood. As you’ll see, the wood warms up the image slightly so it may be the case that you make a few tweaks to your file. And if you’re like us, you’ll absolutely love the unique characteristics when images are printed on wood!